How to Print a Receipt
from Uber?
*Read below our full guide on how to print your Uber receipts
*Or use WellyBox to print your Uber receipts automatically
*Read below our full guide on how to print your Uber receipts
*Or use WellyBox to print your Uber receipts automatically

After every trip, Uber automatically sends you an email receipt. If you’re not getting your receipt, check if the email is going to your spam folder by accident. Here’s how to print it:
That’s it! Your receipt is displayed on your screen instantly! If you prefer to automate the process you can learn more about our automatic expense management tool.
Step 1:
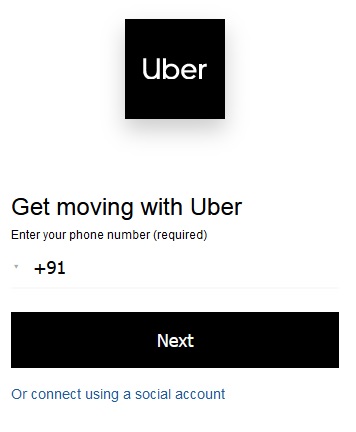
Login to the Uber.com on your favorite browser on your computer.
Step 2:
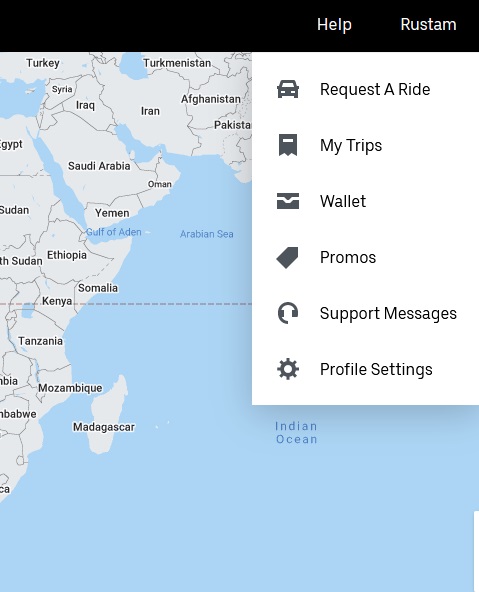
On the top right corner click your username.
Step 3:
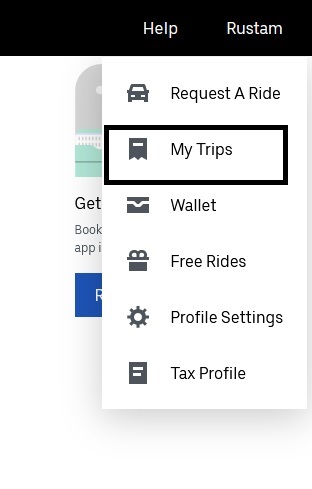
In the drop down menu, click “My Trips”.
Step 4:
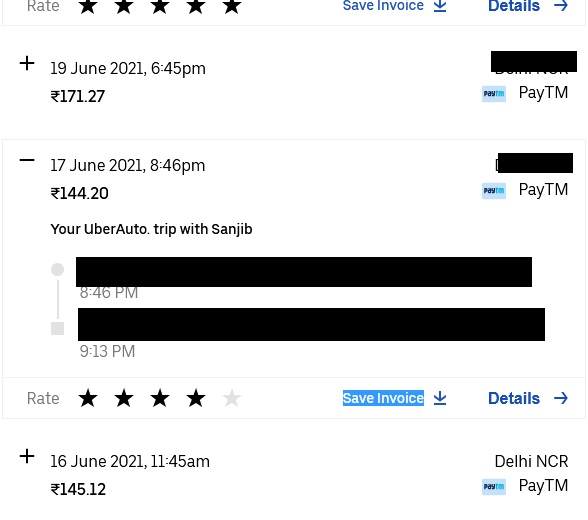
Select the trip you want a receipt for and click “Save Invoice” to download a PDF of the receipt.
Step 5:
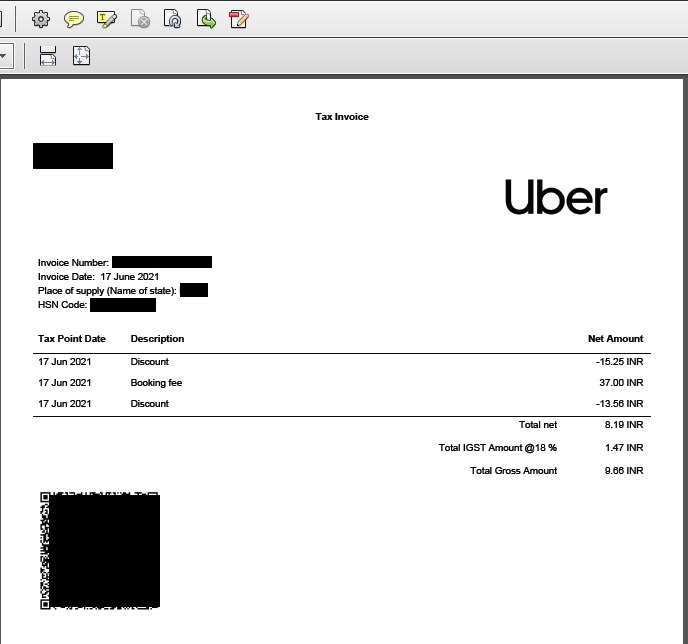
Open the PDF receipt downloaded and press control + P if you’re using Windows or press Command key + P if you’re using MAC to open the print window.
Step 6:
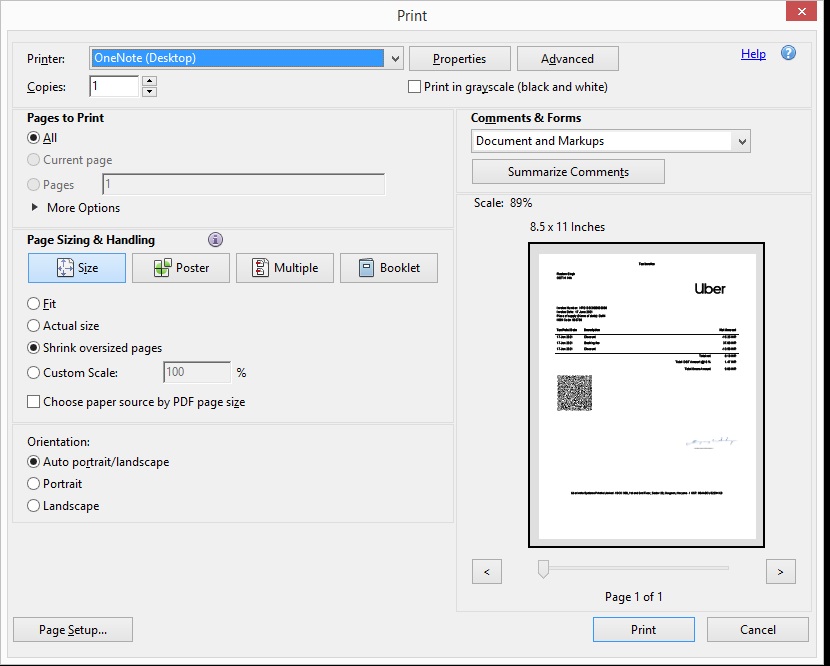
Press “Print” in the window to print it.
Note! You don’t have to do it manually. Just connect to WellyBox and get all your receipts organized and ready for your action! Download, print, send or store with a click of a button.
Step 1:
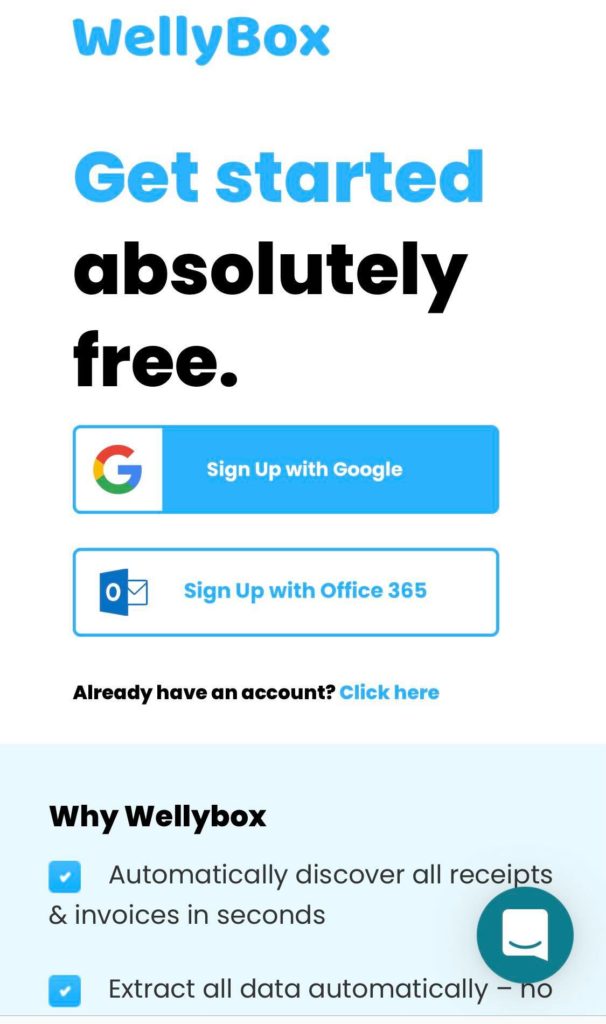
Connect with WellyBox from your favorite browser.
Step 2:
In the Dashboard, you will see all the receipts because WellyBox has collected them from your inbox including Uber receipts. Locate the ones you want in the dashboard.
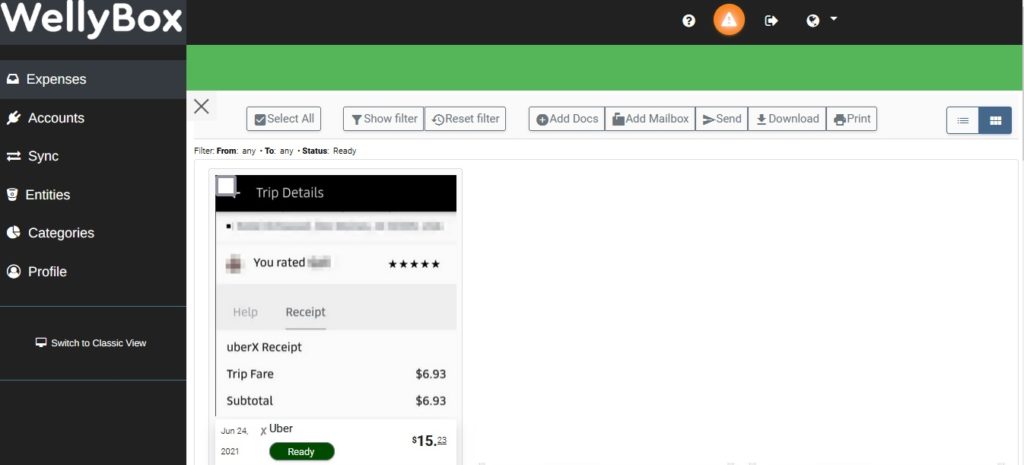
Step 3:
Click on the receipt you want. Press control + P if you’re using Windows or press Command key + P if you’re using MAC to open the print window and press “Print”. That’s it!

If you prefer to automate the process you can learn more about our automatic expense management tool.
FAQs
